Install and configure Apache Maven for AEM on Windows 10
Step 1: to install Maven on windows 10 first get Maven source from below URL

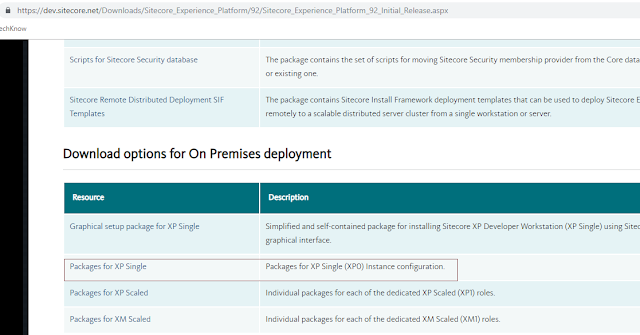
Here click on Binary zip archive link available below on same page.

Time to set the environment variable once Maven source
package is downloaded. Unzip this downloaded package and set the maven package
in environment variable.
Step 2 : Set the environment variable from system
Property. I am giving MAVEN_HOME as environment variable name which is having Maven source path.


Once your Maven is ready and running on your system then a folder .m2 will be created under your system user account. In my case it was created on my system.

Here repository folder will be created with some default folder and files. Now just put the setting.xml file in the same .m2 folder and start work on further AEM configuration.
Happy Learning!!!

Great Post with valuable info. Thank you for the updates.
ReplyDeleteLearn Dot NET Online
dot net certification course online
ReplyDeleteGet inspired by your blog. Keep doing like this....
Spoken English Classes in Bangalore
Spoken English Classes in Pune
spoken english centre in Hyderabad
English Speaking Course in Gurgaon
Great blog.thanks for sharing such a useful information
ReplyDeleteSalesforce CRM Training in Chennai
Usually I never comment on blogs but your article is so convincing that I never stop myself to say something about it. You’re doing a great job Man
ReplyDeleteThanks a bunch for sharing this with all of us you actually know what you are talking about! Bookmarked. Please also visit my site.
Good article! I found some useful educational information in your blog, it was awesome to read, thanks for sharing this great content to my vision
adf Training In Hyderabad
best adf training institute in hyderabad
adf online Training in hyderabad
adf training in ameerpet
azure data factory Training in Hyderabad
Very nice Post!!! gratitude for imparting this post to us.
ReplyDeleteDot Net Training in Chennai
Dot Net Training Online
Dot Net Training in Bangalore